
Sew Box
Lil Pip Sew Box Metal Frame Clutch Tutorial
Lil Pip Sew Box Metal Frame Clutch Tutorial
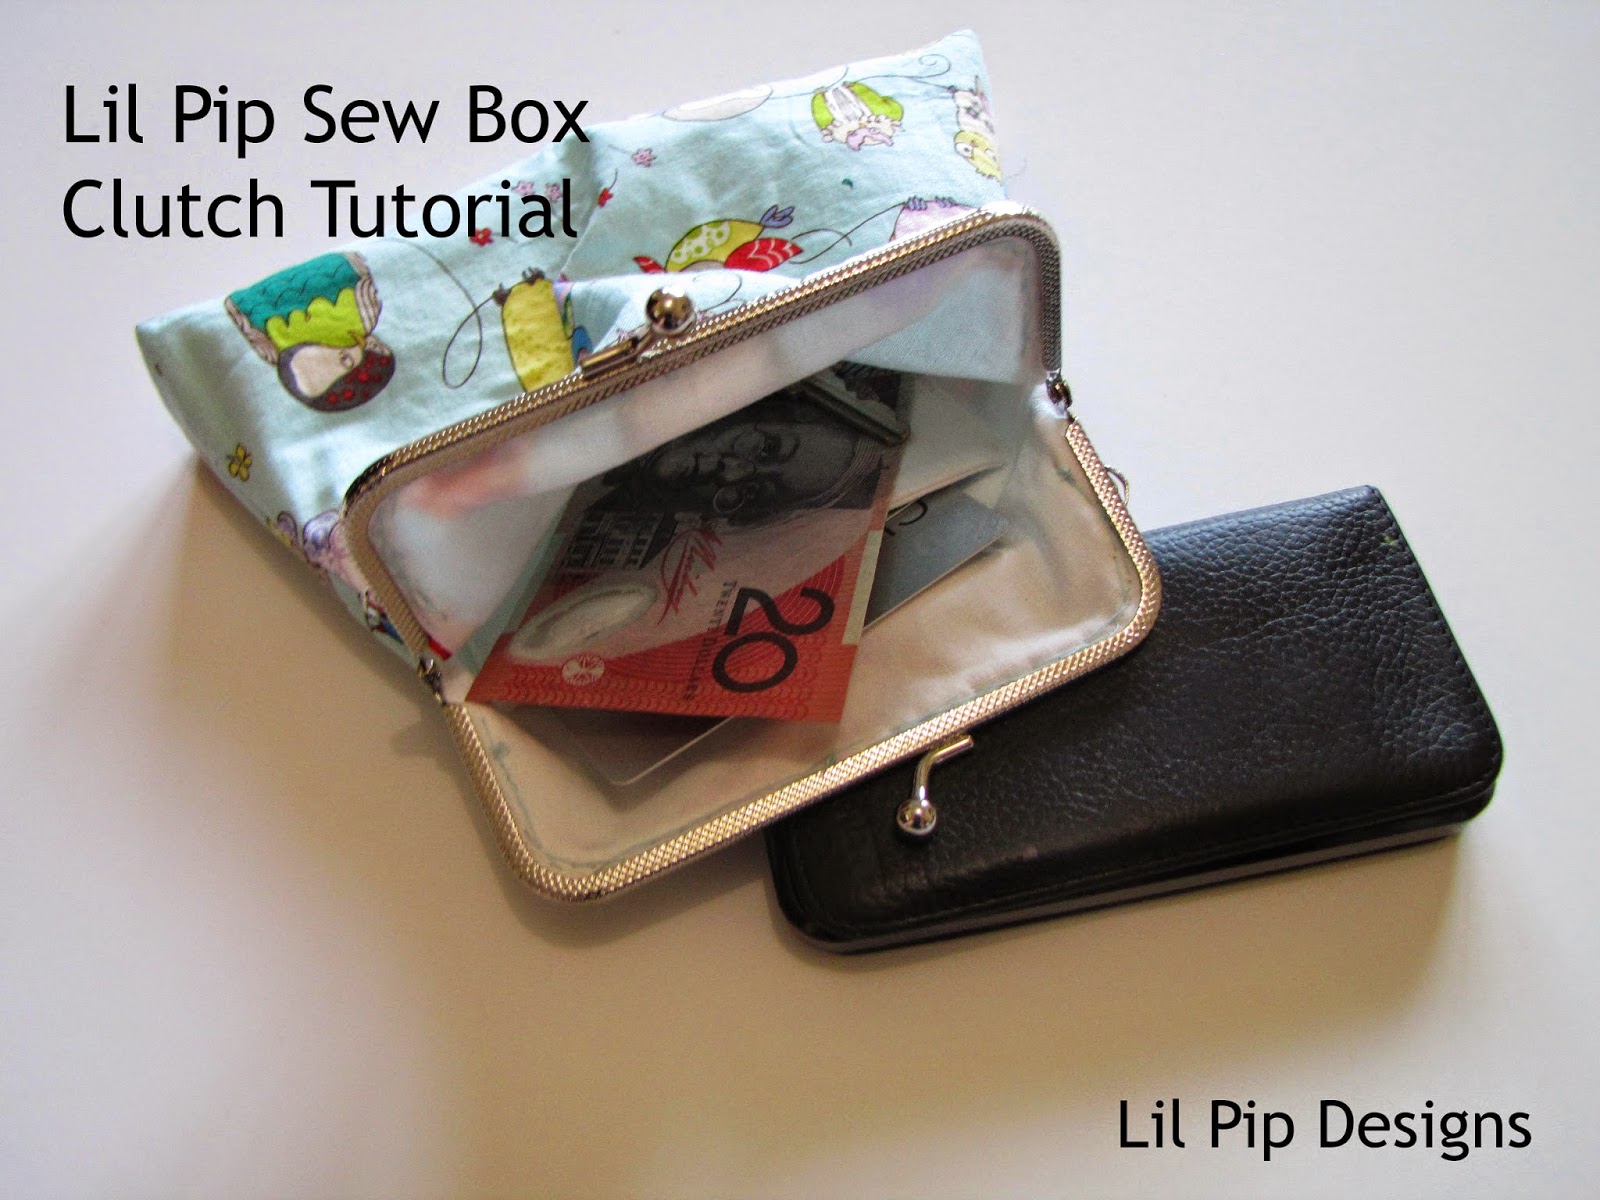
Welcome back! Yesterday I showed you how to make a little coin purse, today I will show you how to make the medium-sized clutch that was provided in the Sew Box Subscription for February. If you aren’t a subscriber (why!!) you can take a look at my post yesterday for the resources I used to create this pattern so you can make your own.
Lil Pip Sew Box Clutch
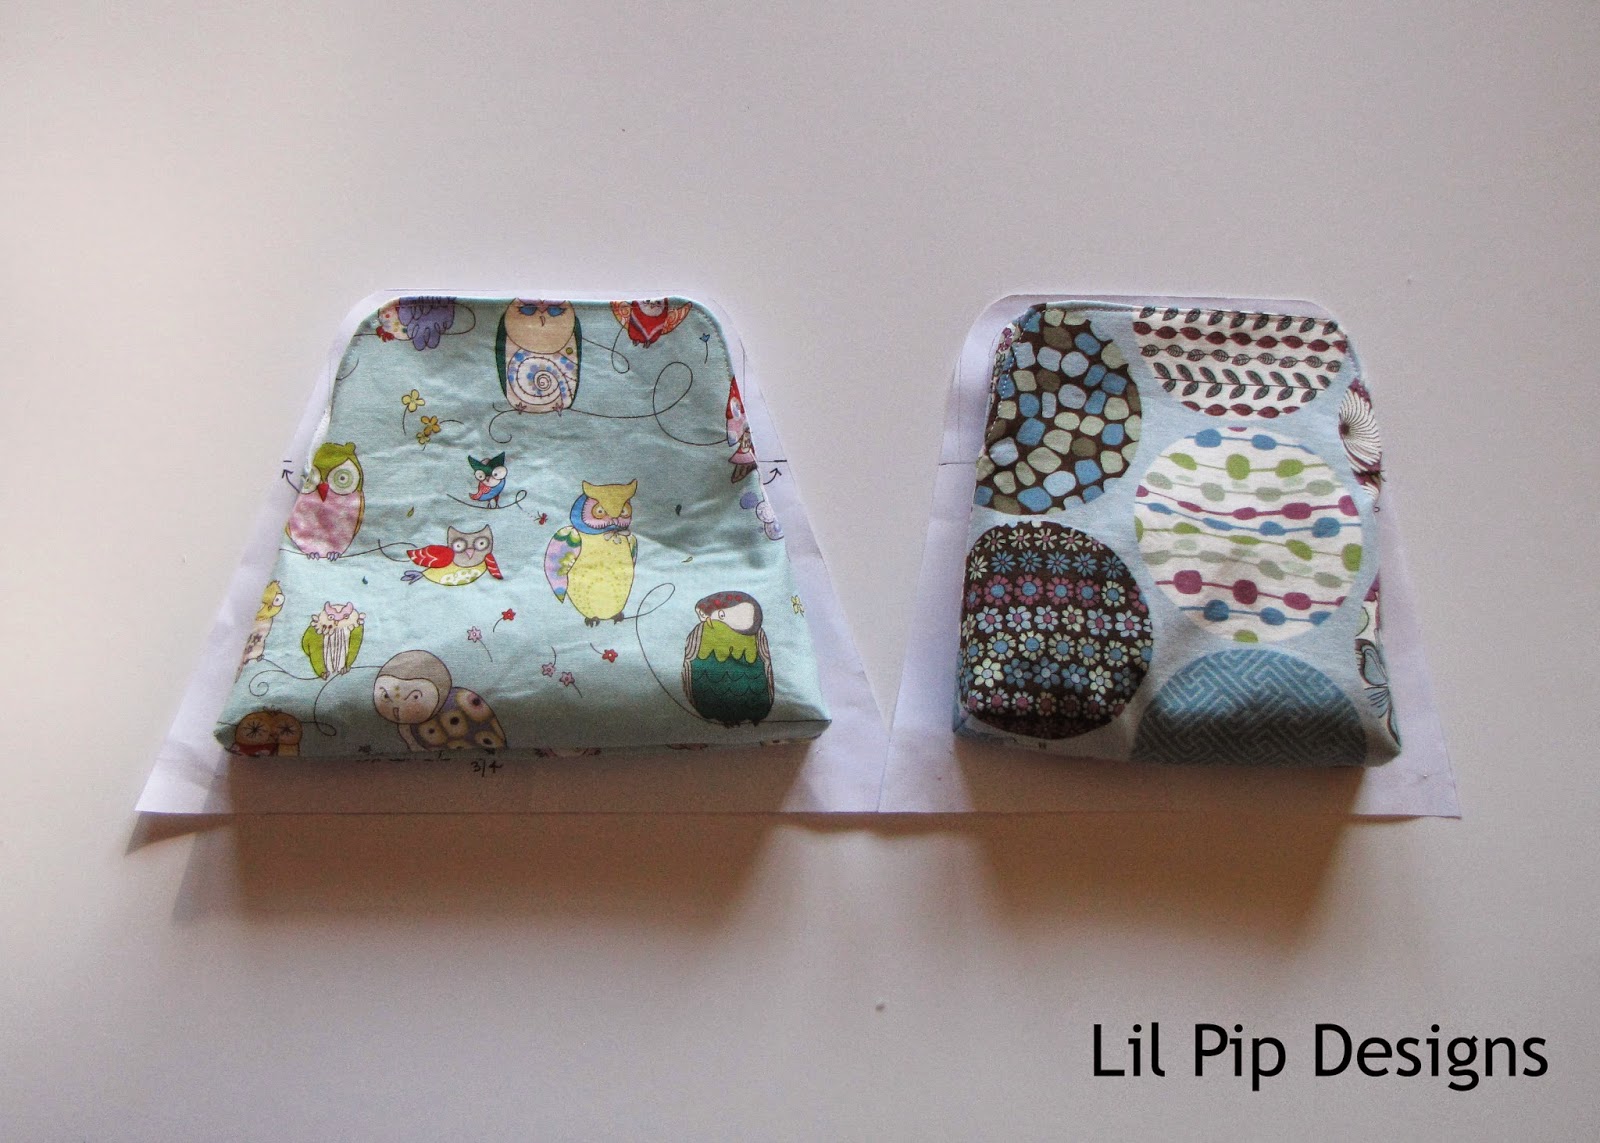
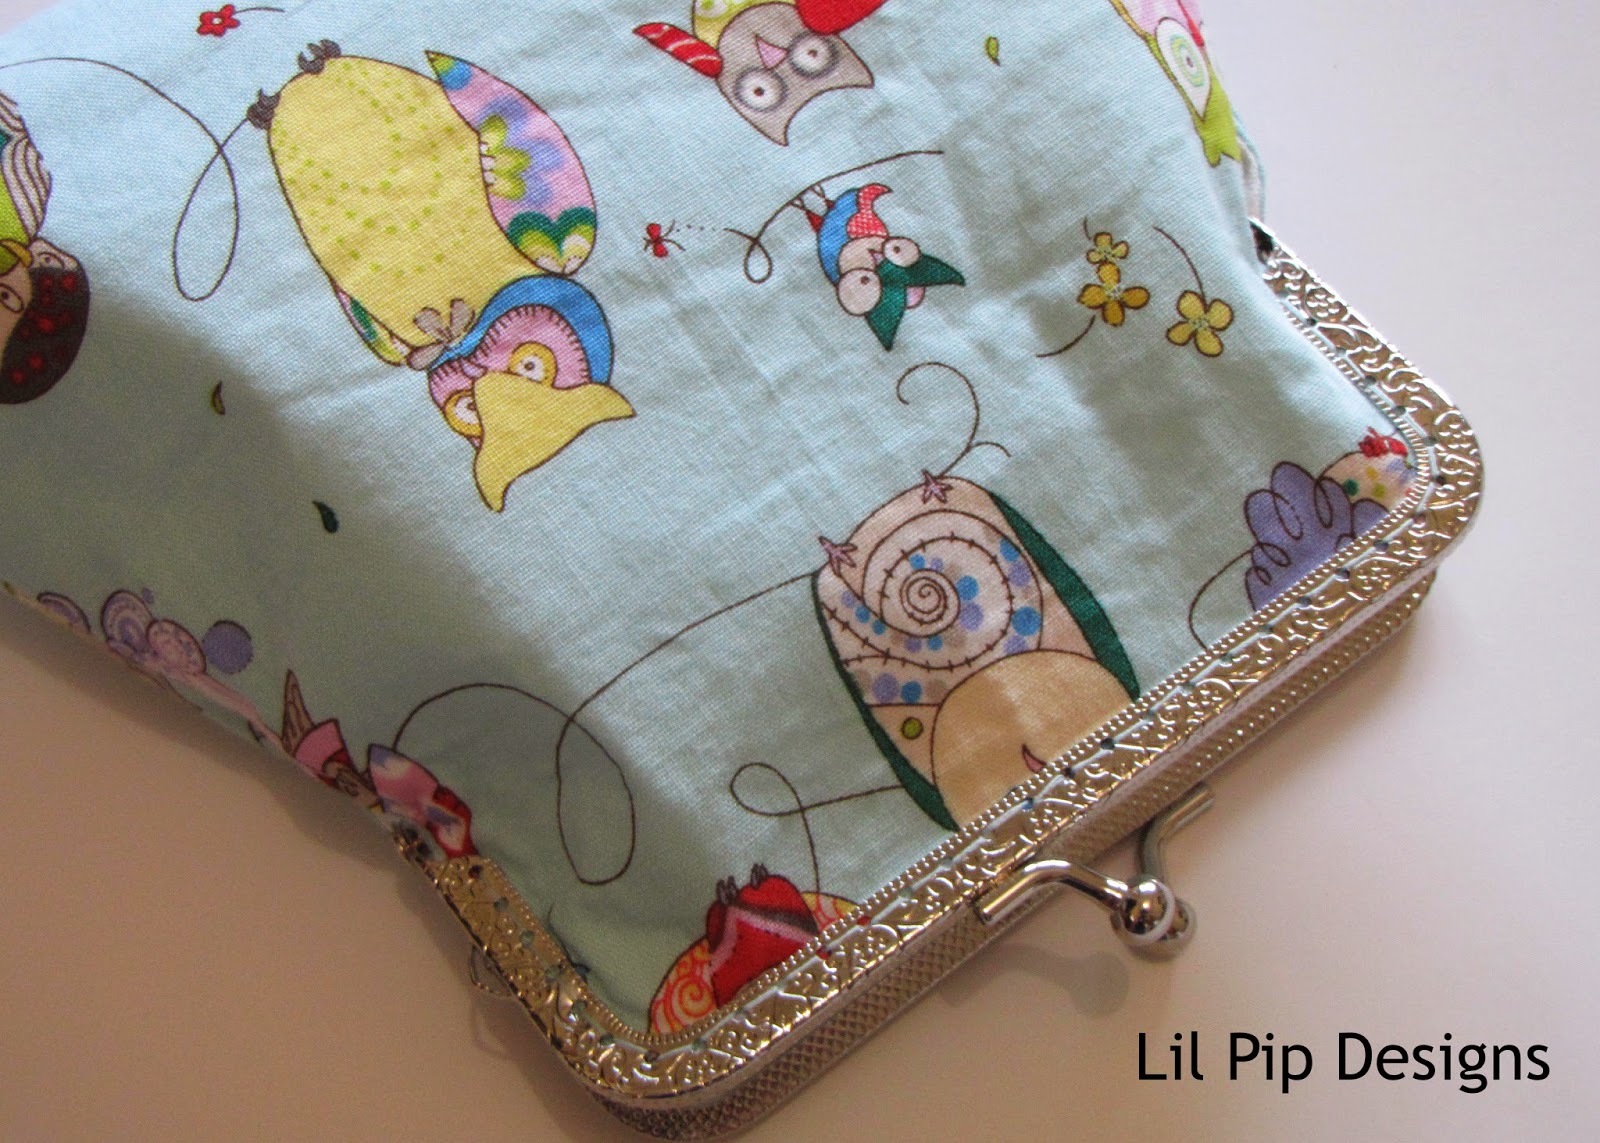
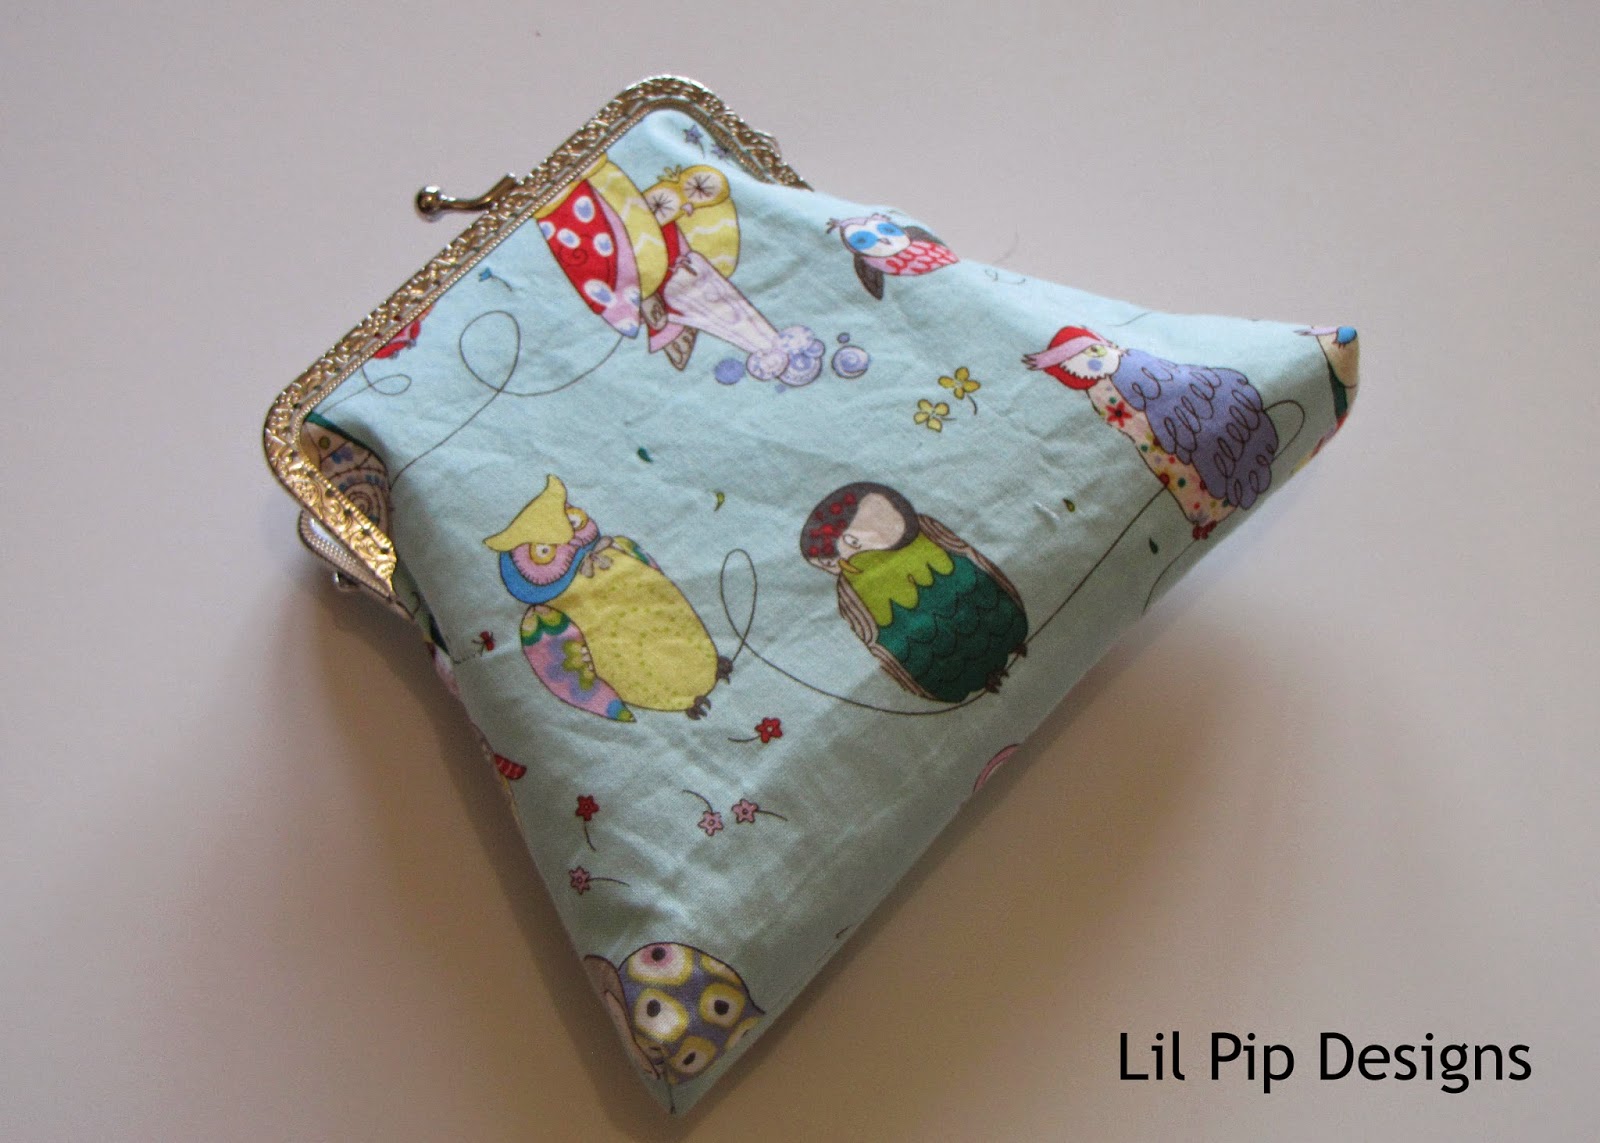
There are two pattern styles of clutch for you to choose from – the straight or the ‘poofy’ (I just couldn’t think of a better name lol).
You can see in this photo below the type of finish and shape. Choose whichever you prefer, the steps are the same, just the end result slightly different.
Use a 3/8″ (edge of my foot!) for all seams throughout.
Step 1 and 2: Follow steps 1 and 2 of the coin purse tutorial.
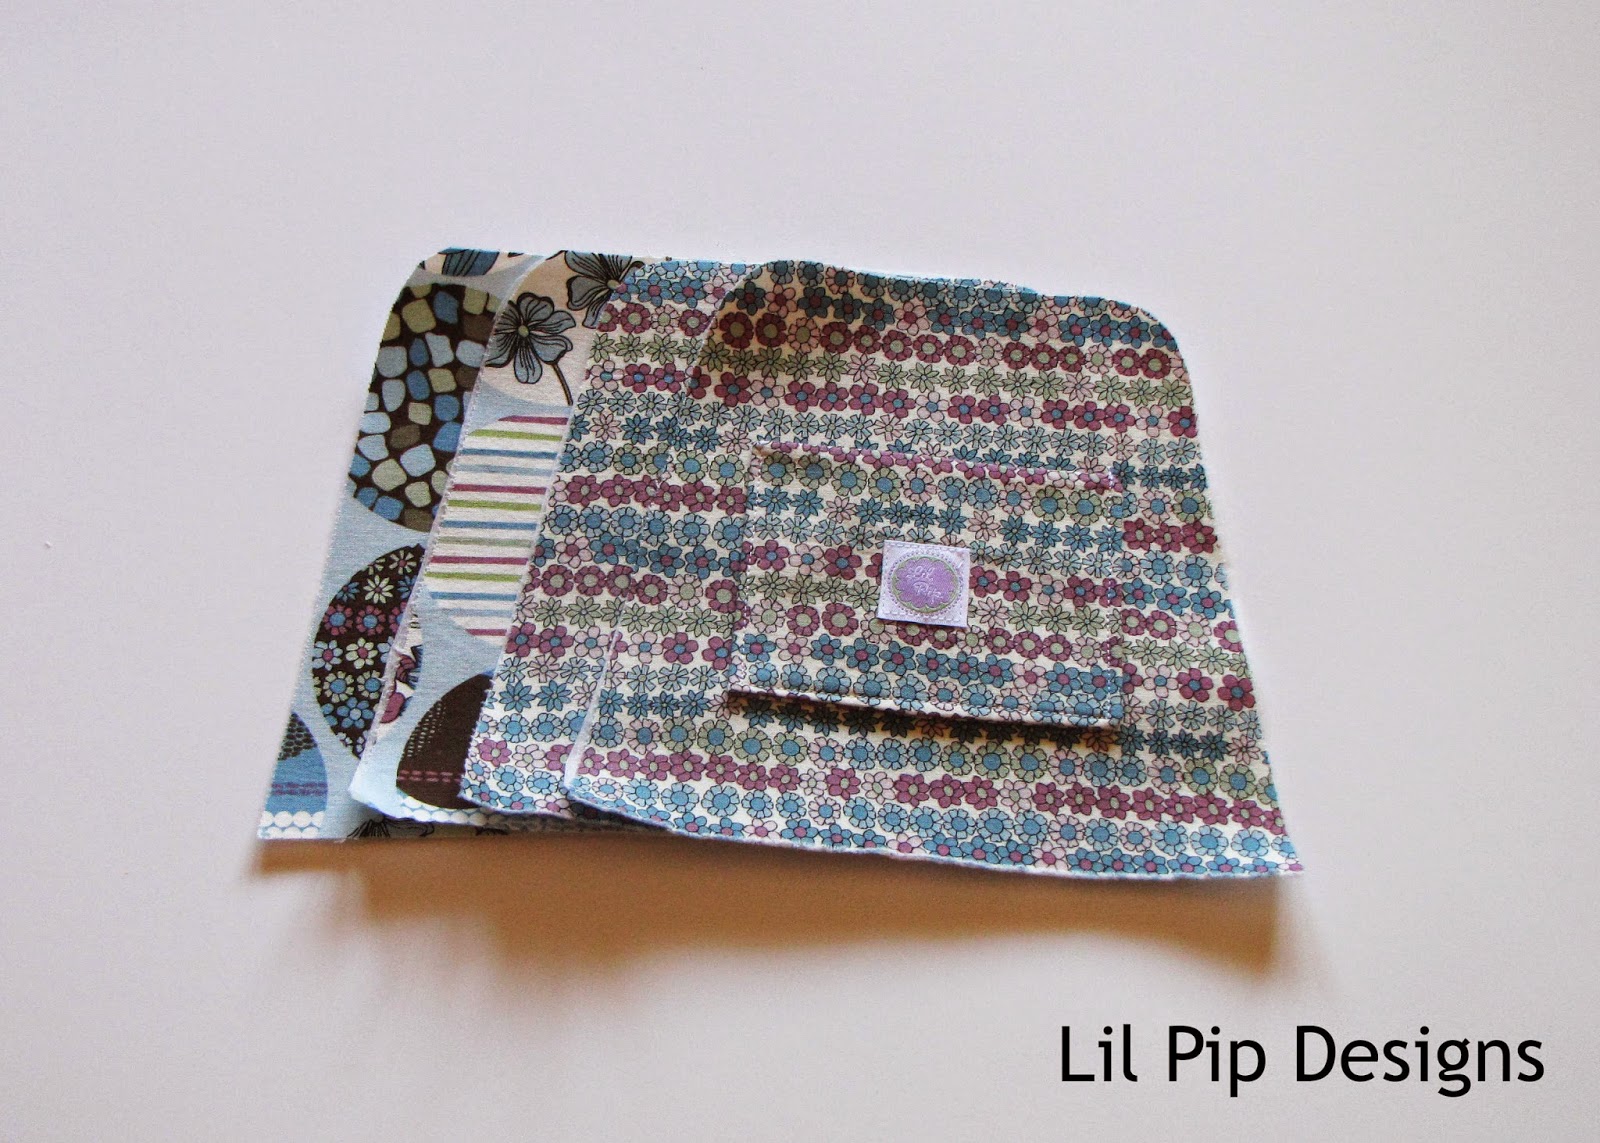
Step 3: Before you sew the lining and outer together, decide if you want a pocket. I recommend cutting two rectangles 4.5 x 3 inches, interfacing both pieces. Sew around three sides, leaving a turning gap at the bottom. Centre the pocket on the lining, matching the top edge with the line you sew to in the next step. Sew around the three edges (and closing your turning gap on the bottom edge in the process). This pocket is perfect for keeping a couple of cards or a little money.
Step 4: Follow step 3 from the coin purse tutorial sewing to the point marked on the pattern – which is slightly different from the coin purse. Don’t forget your turning gap in the lining fabric.
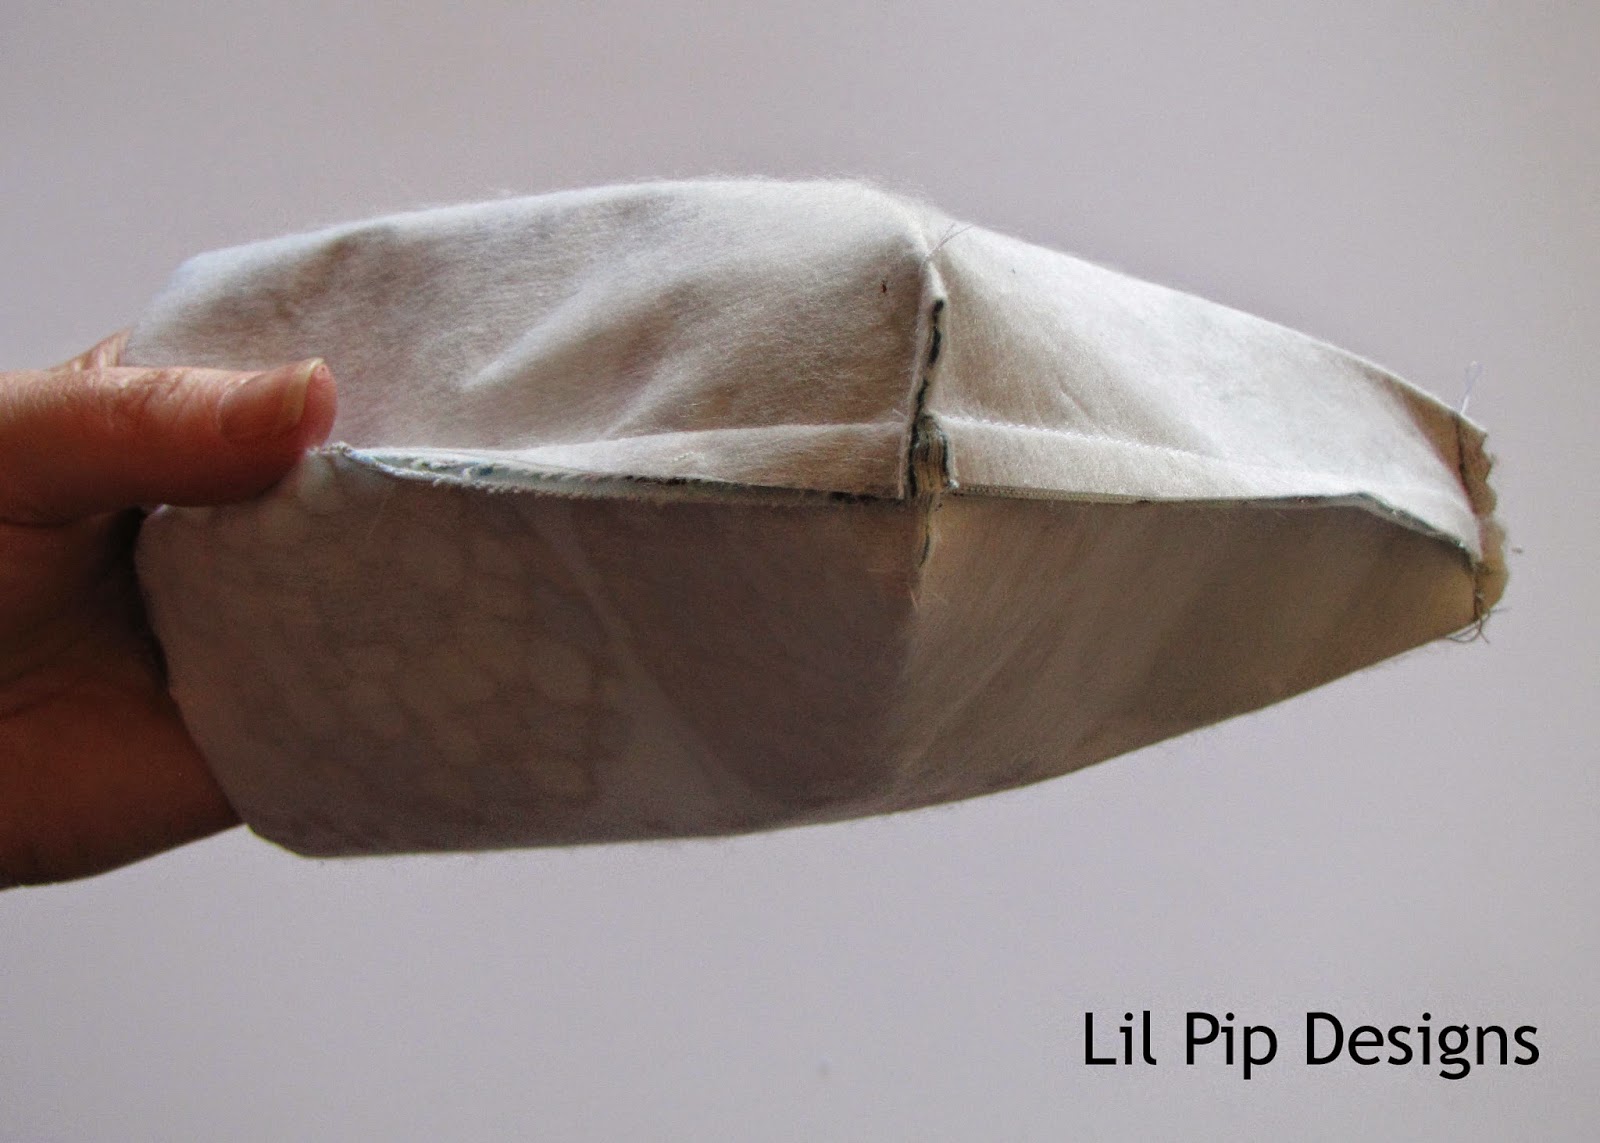
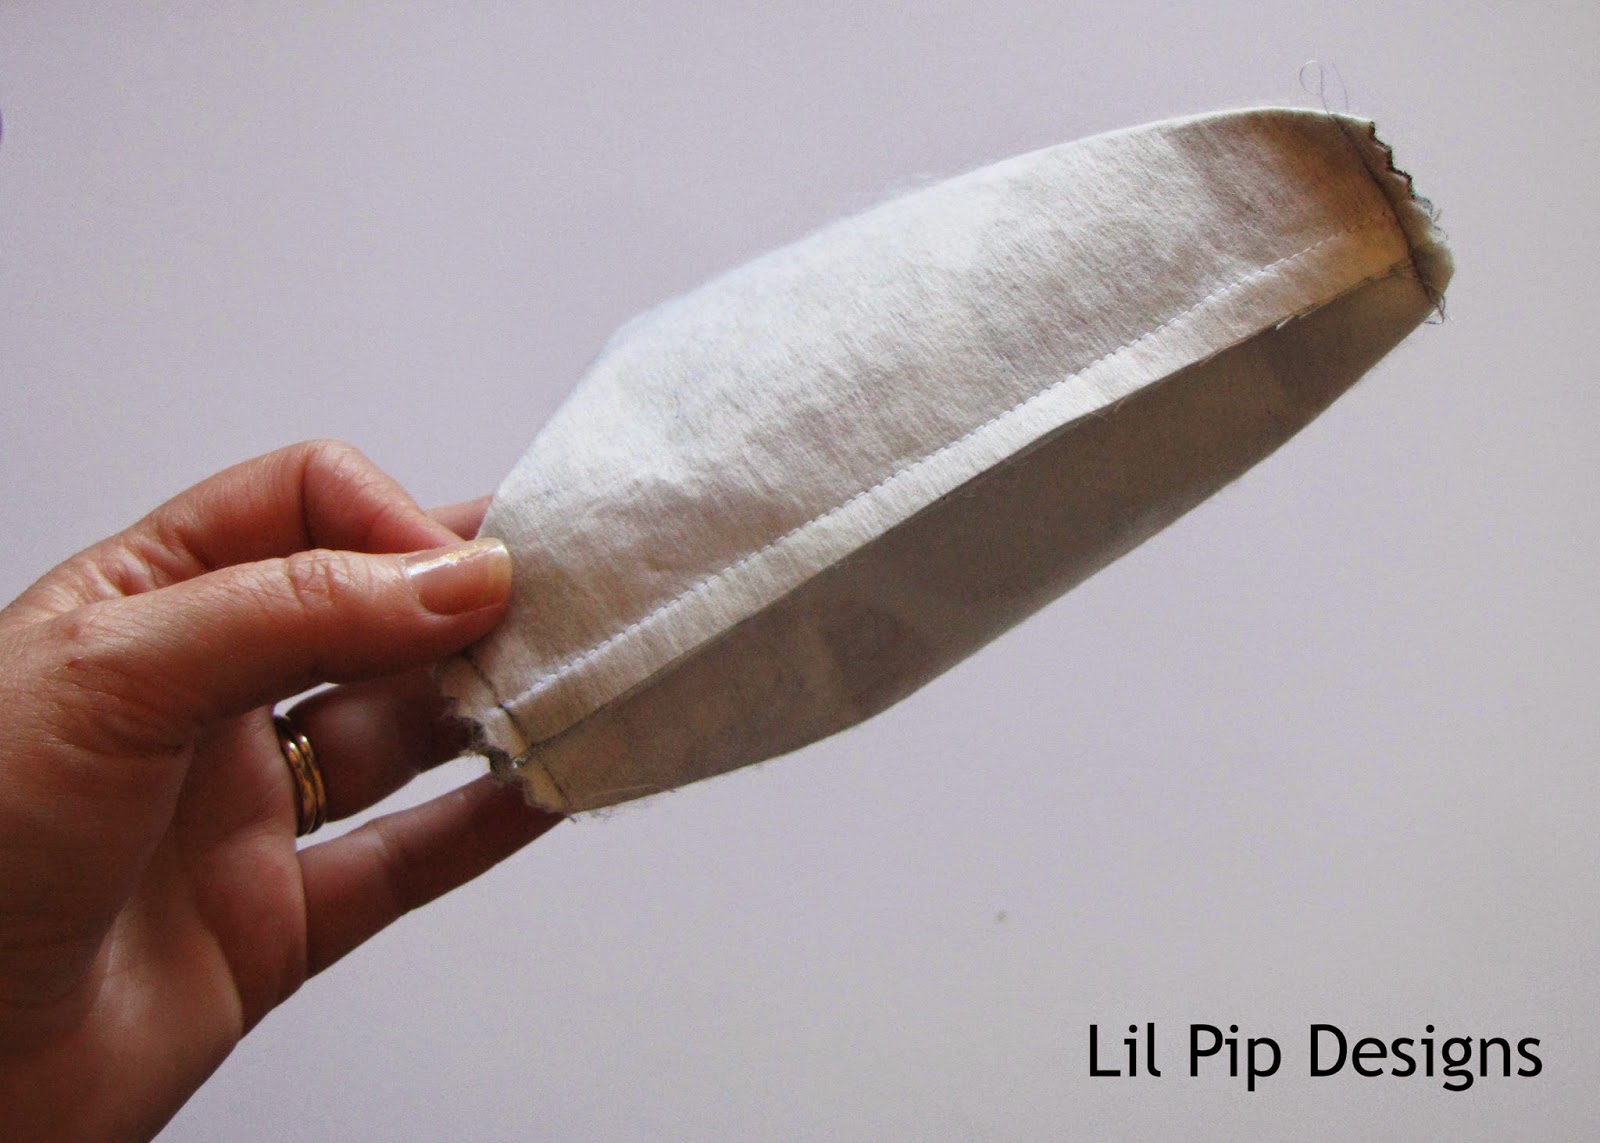
Step 5: Now to construct the boxed bottom. Match the two seams as I’ve shown below and mark a line. This one is 3/4″ in from the point but I did variations with 1″ and 1 1/4″ and they were both great. Maybe sew one at 3/4″ and see if you like it. You can always make it bigger (but not smaller!).
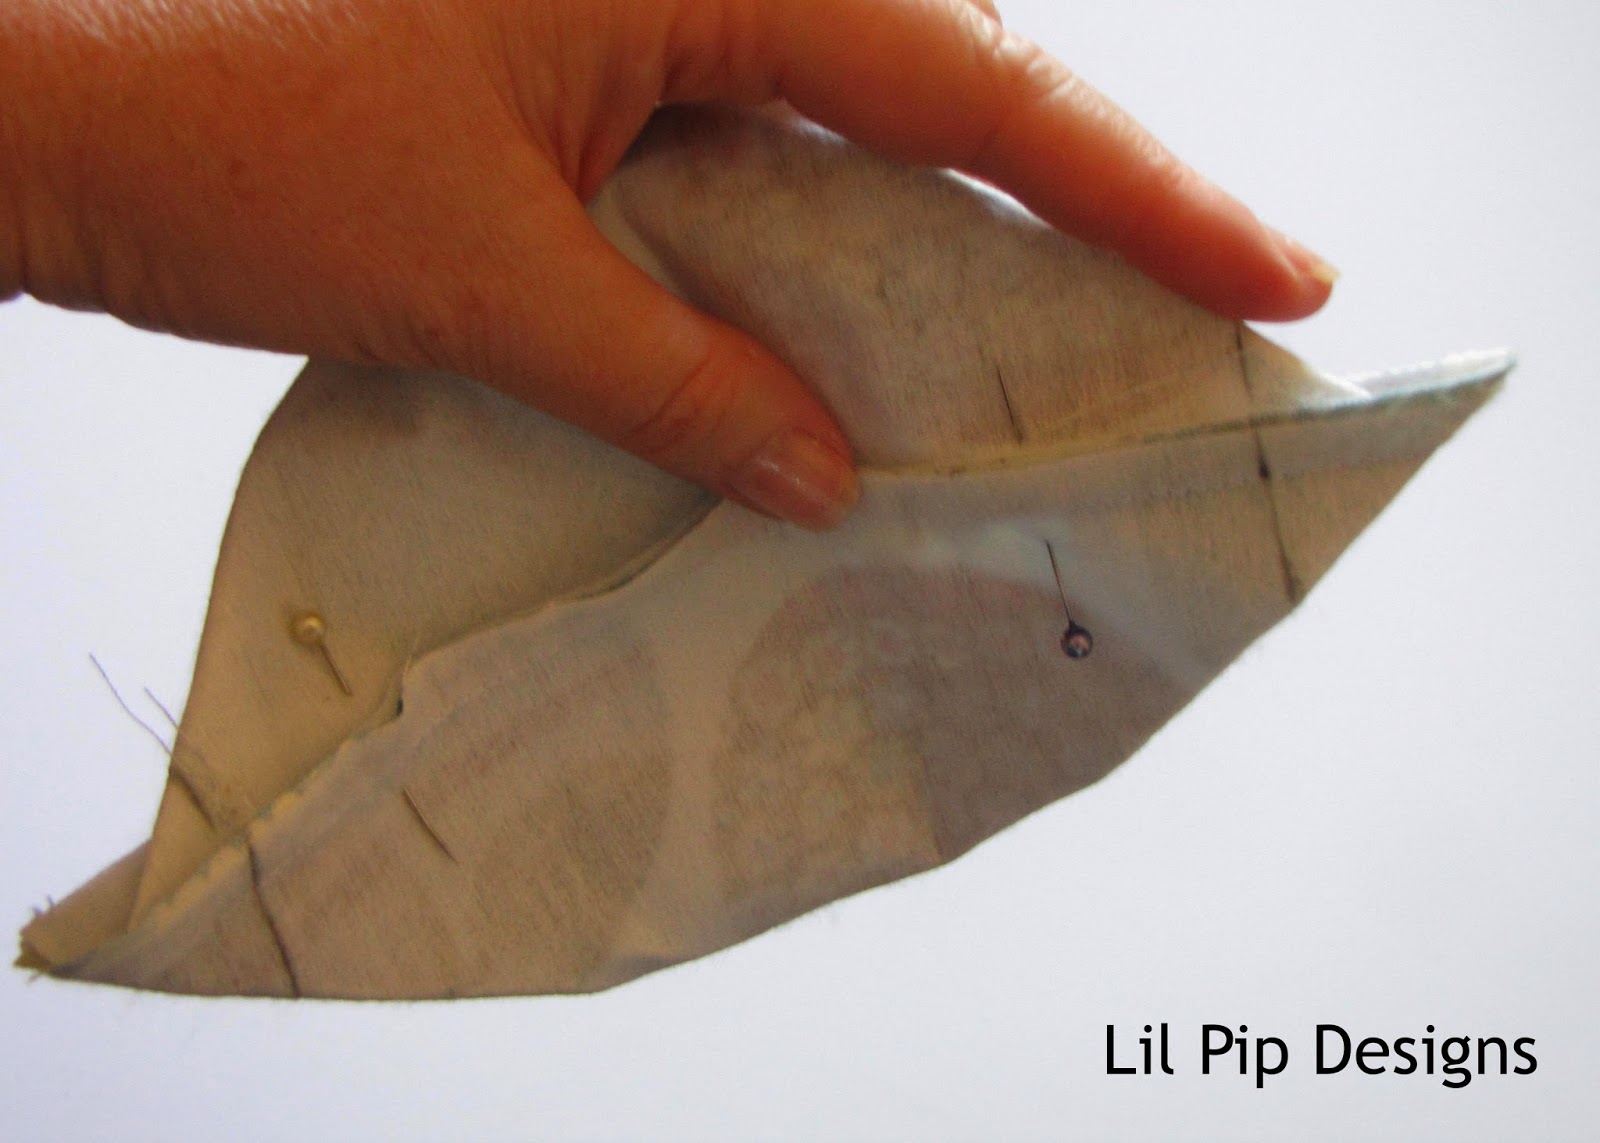
Step 6: Sew along your marked line and trim back with pinking shears or regular scissors are fine. Do this on your two outer fabric corners and your two lining fabric corners.
Step 7: Follow steps 4 through to 9 of the coin purse tutorial.
If you make one, be sure to share on social media (I love Instagram!) using the hashtag #lilpipsewboxpurse or send me an email. I can’t wait to share your examples. Check out my Pinterest board for more ideas.

Don’t forget to check back next week as I will share different variations and options each day.
Posted by
Jane from Lil Pip
at 8:00 AM
Labels:
Sew Box,
Tutorial